Email Guide
With SupportSystem, we highly encourage you to simply forward your external email inbox to an email address with your help desk subdomain (@yourcompany.supportsystem.com). We ship the software with 3 examples but you can create an unlimited number of addresses by putting anything before the “@” symbol of the subdomain. Alternatively, you can enable IMAP or POP to have your external email box fetched into the helpdesk to create tickets. Both will work so it’s really up to you.
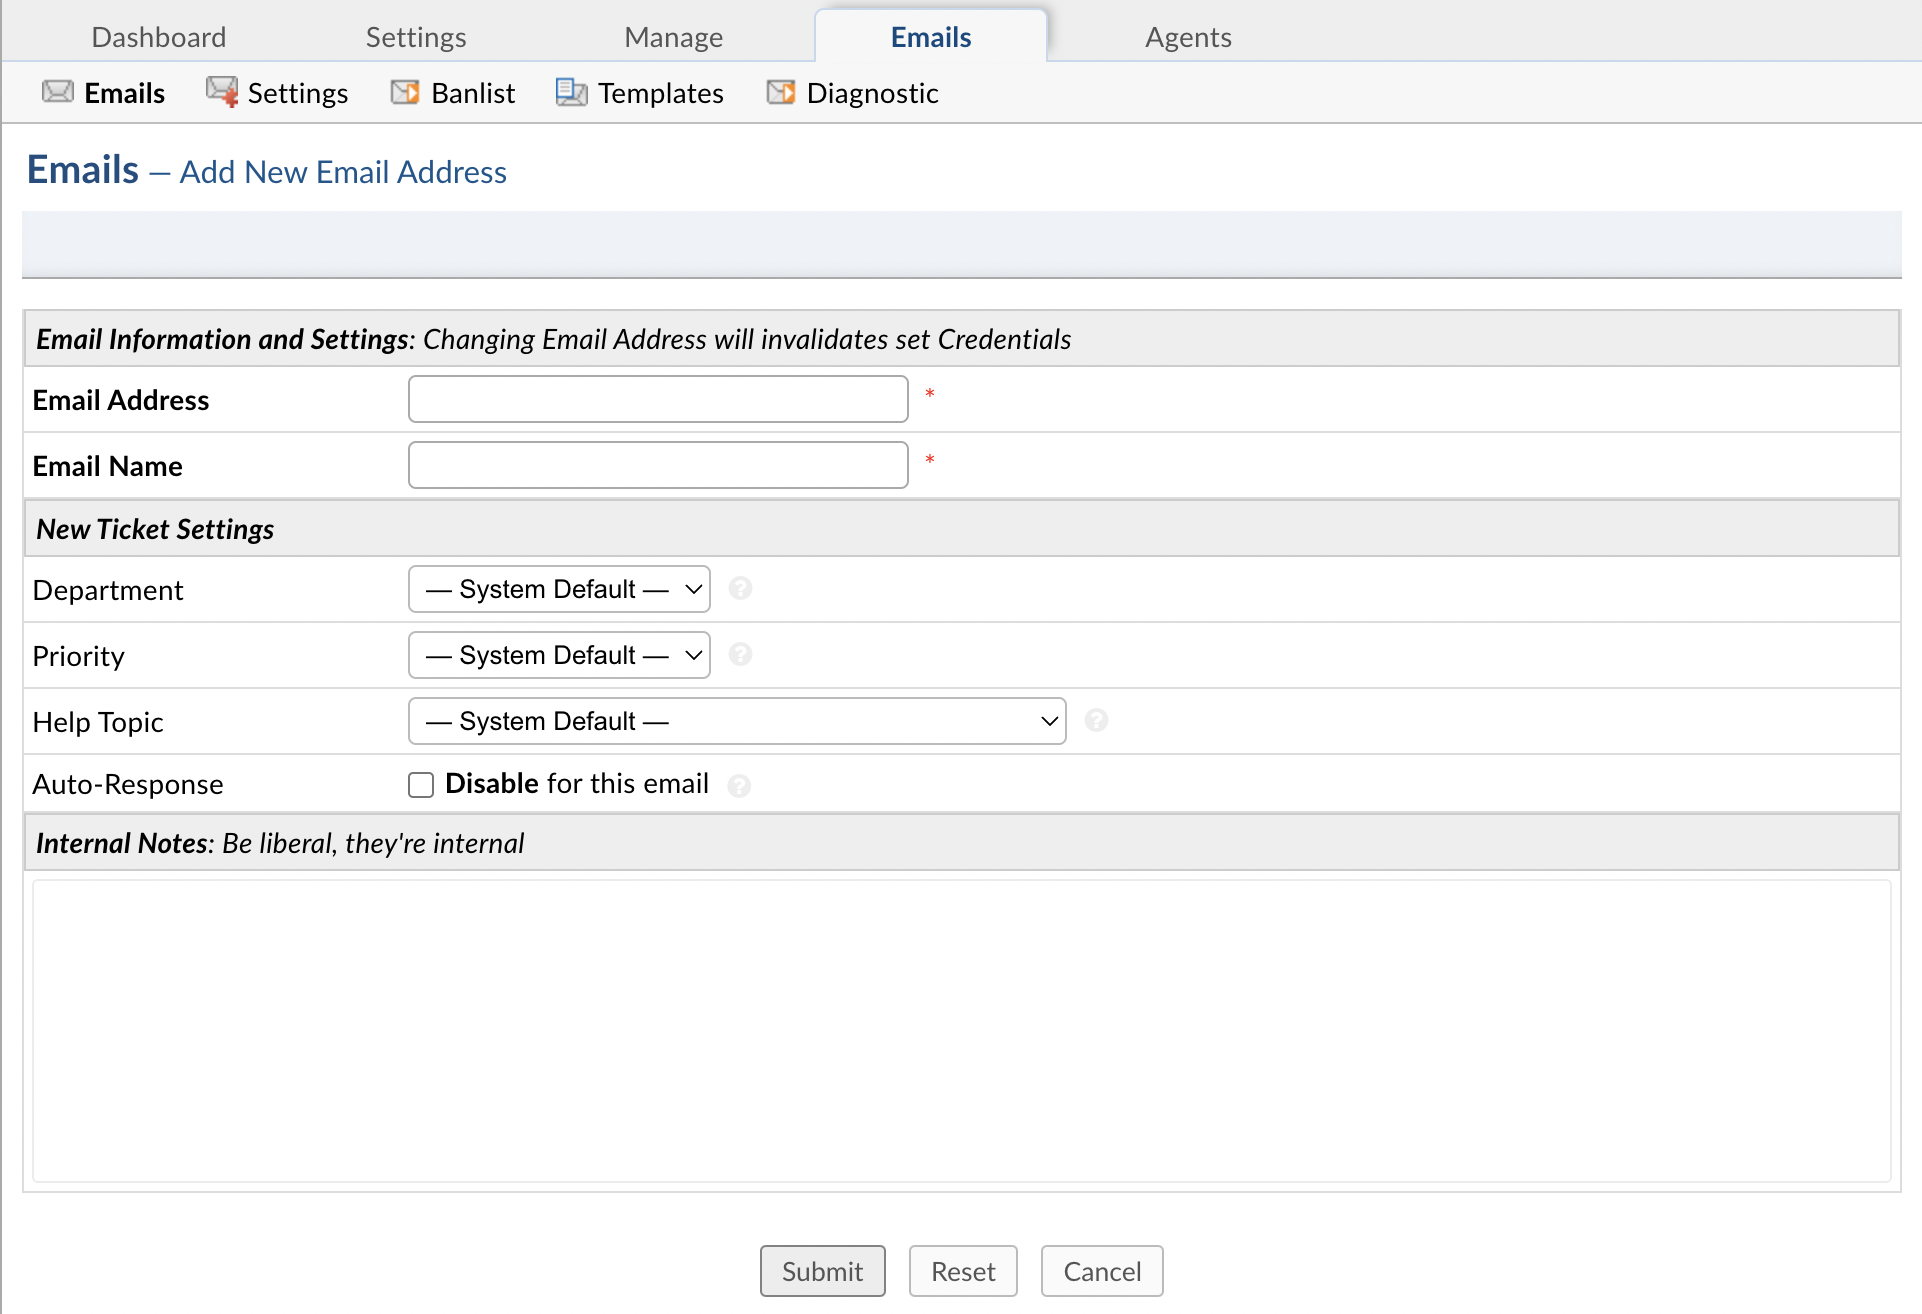
You can also add the same external email address and configure the SMTP setting for your outgoing email to be consistent. You can easily do this by adding the preferred email address to the system and setting up the SMTP for that email. To do this, log into your staff control panel and go to Admin Panel > Emails > Add New Email.
On this page, you can input the email address and the name you want the end users to see as whom the email is from. If you are adding a subdomain email, you can simply click Submit to add the new email. Optionally, configurations such as the Department the ticket will be routed to as well as assigning a Help Topic can be determined for this email address on this first page.
If adding an external email to configure fetching, you will need to click on the Remote Mailbox tab to add the credentials for that specific mailbox.
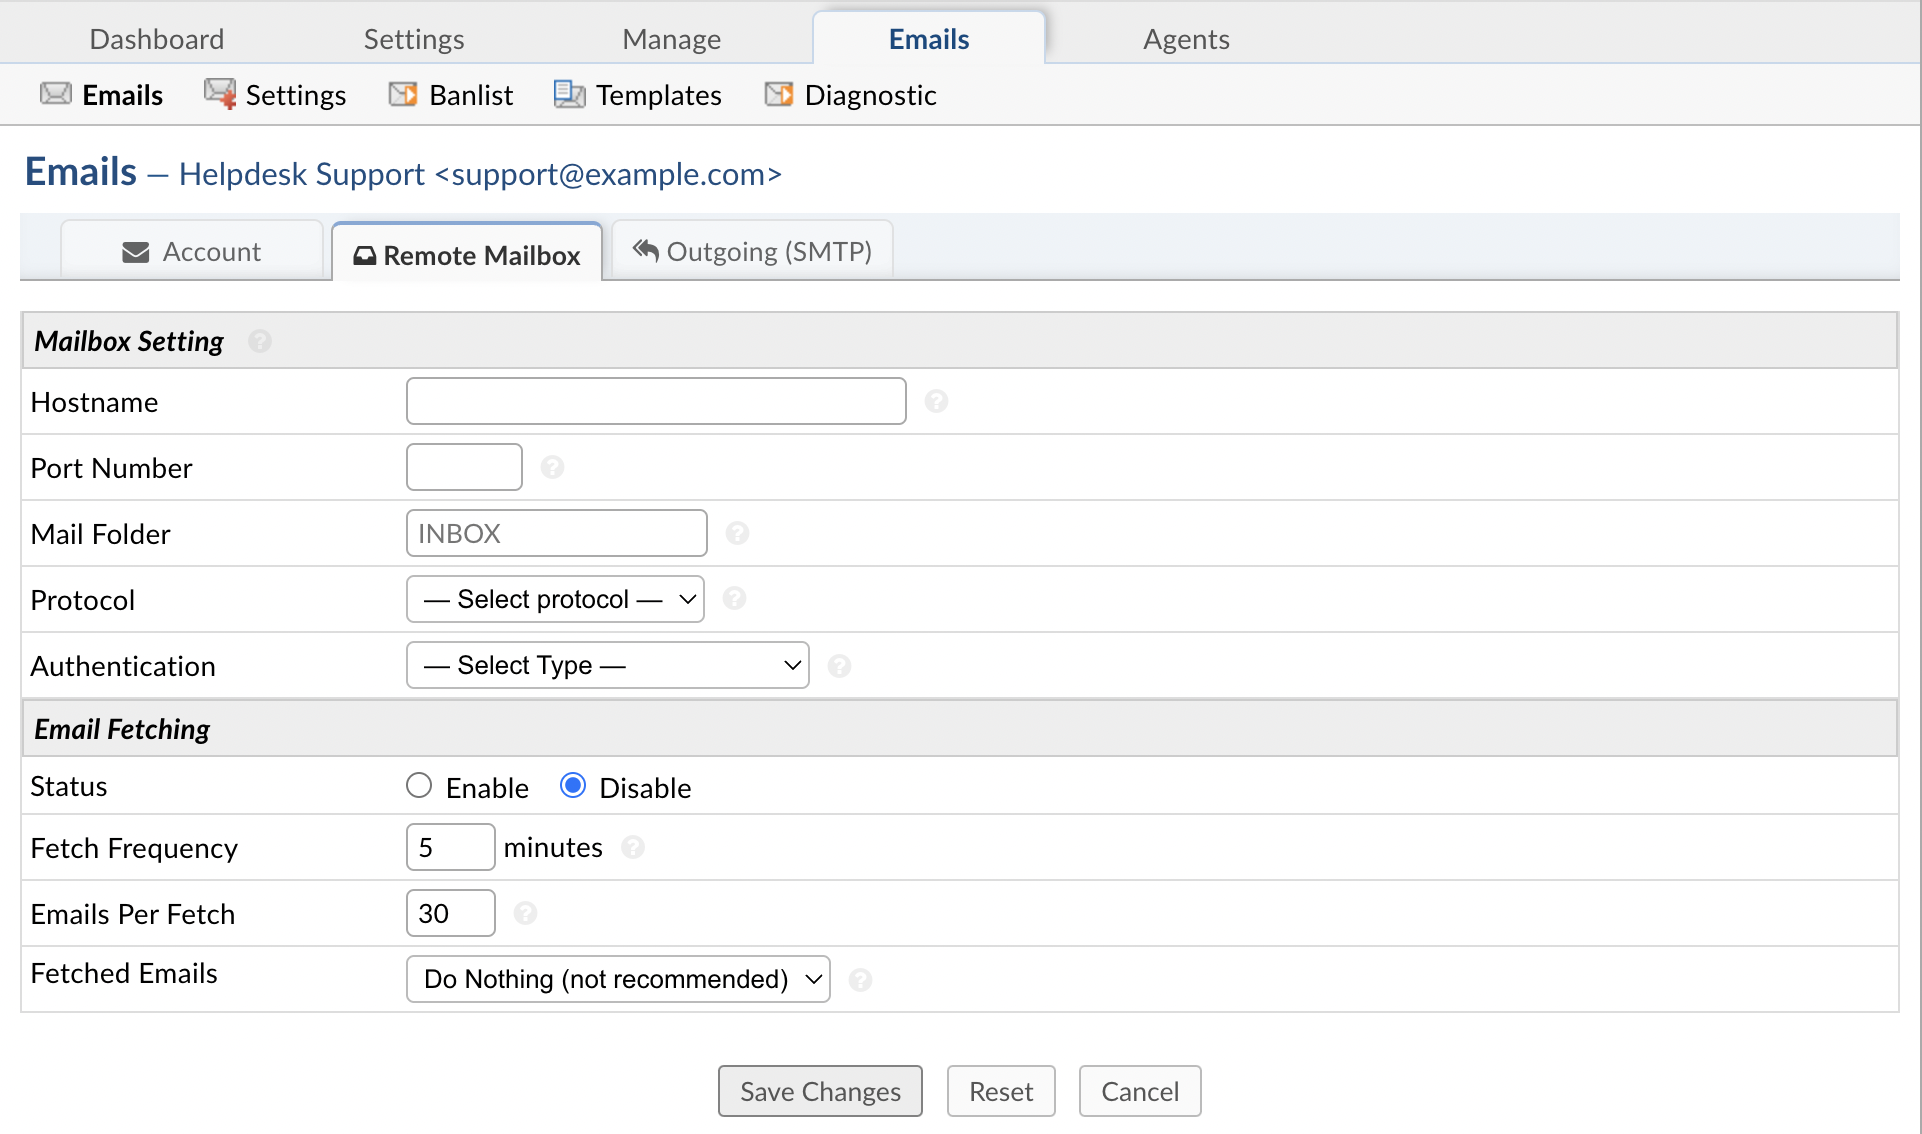
You can configure IMAP/POP3 by filling in the information for the email address.
Mail Folder: Allows you to define an (existing) mailbox from which the system will fetch from.
After you have configured the Mail Account Settings, be sure to enable fetching for the system at Admin Panel > Emails > Settings.

Next, you can configure SMTP by clicking the Outgoing (SMTP) tab and filling in the information.
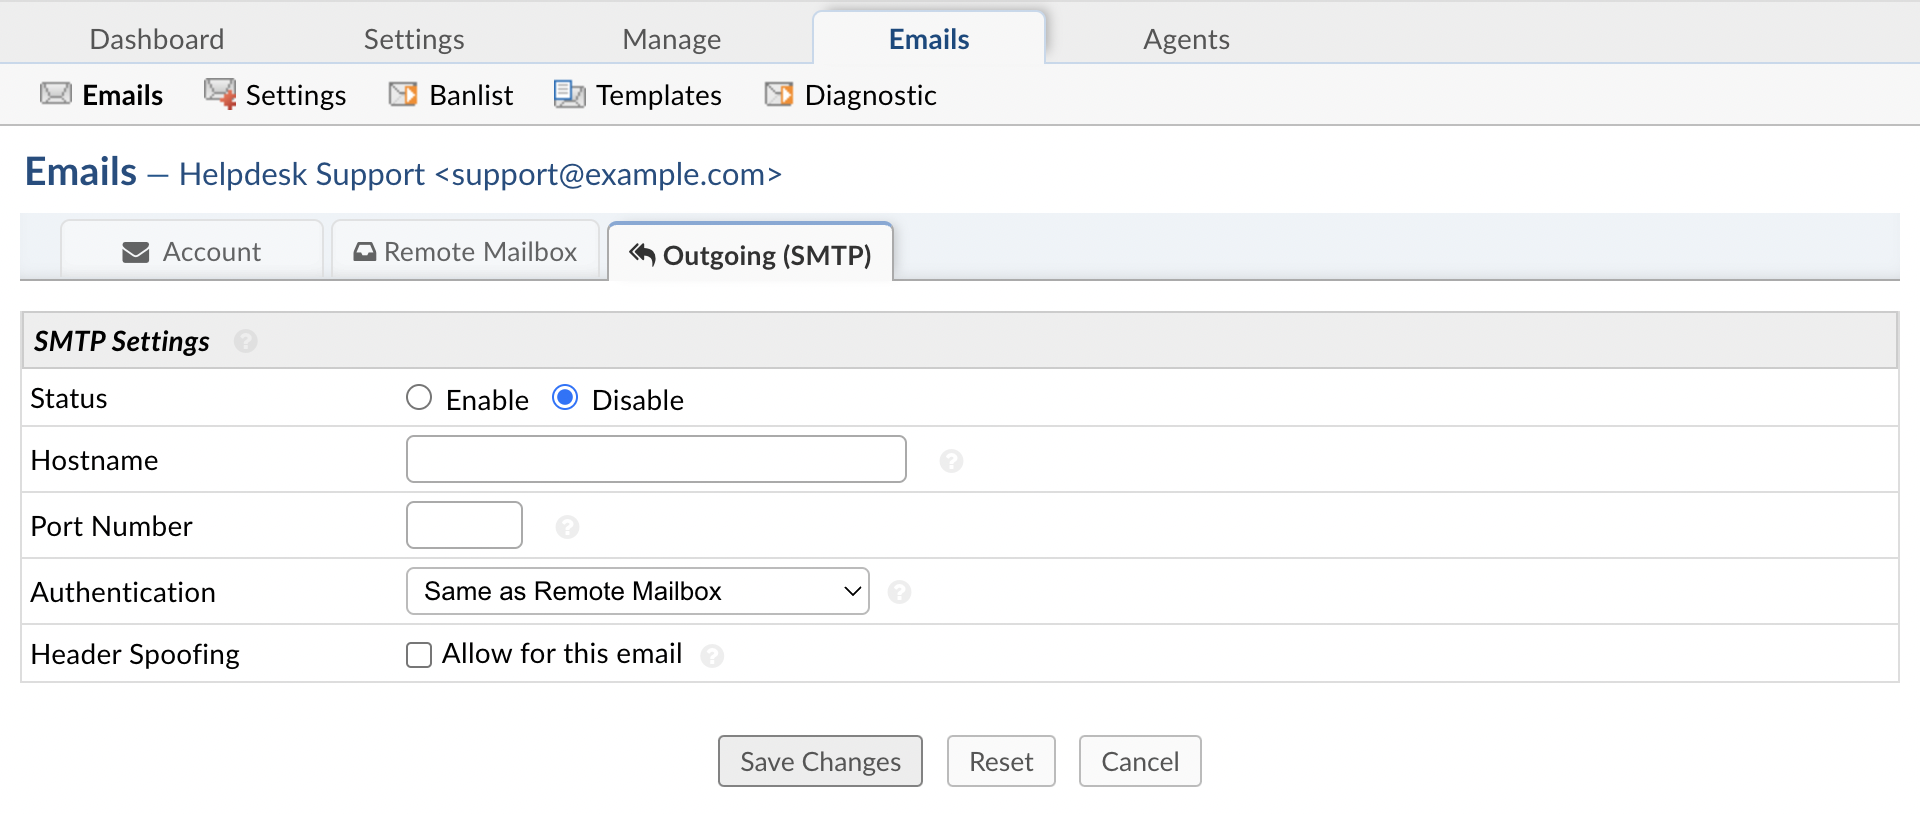
You have the option to use separate SMTP credentials by selecting a different Authentication method. Default: Same as Remote Mailbox
After completing the SMTP setup, you can update the default system address at Admin Panel > Emails > Settings > Default System Email. You can also set this as your default outgoing address by updating the Default MTA.

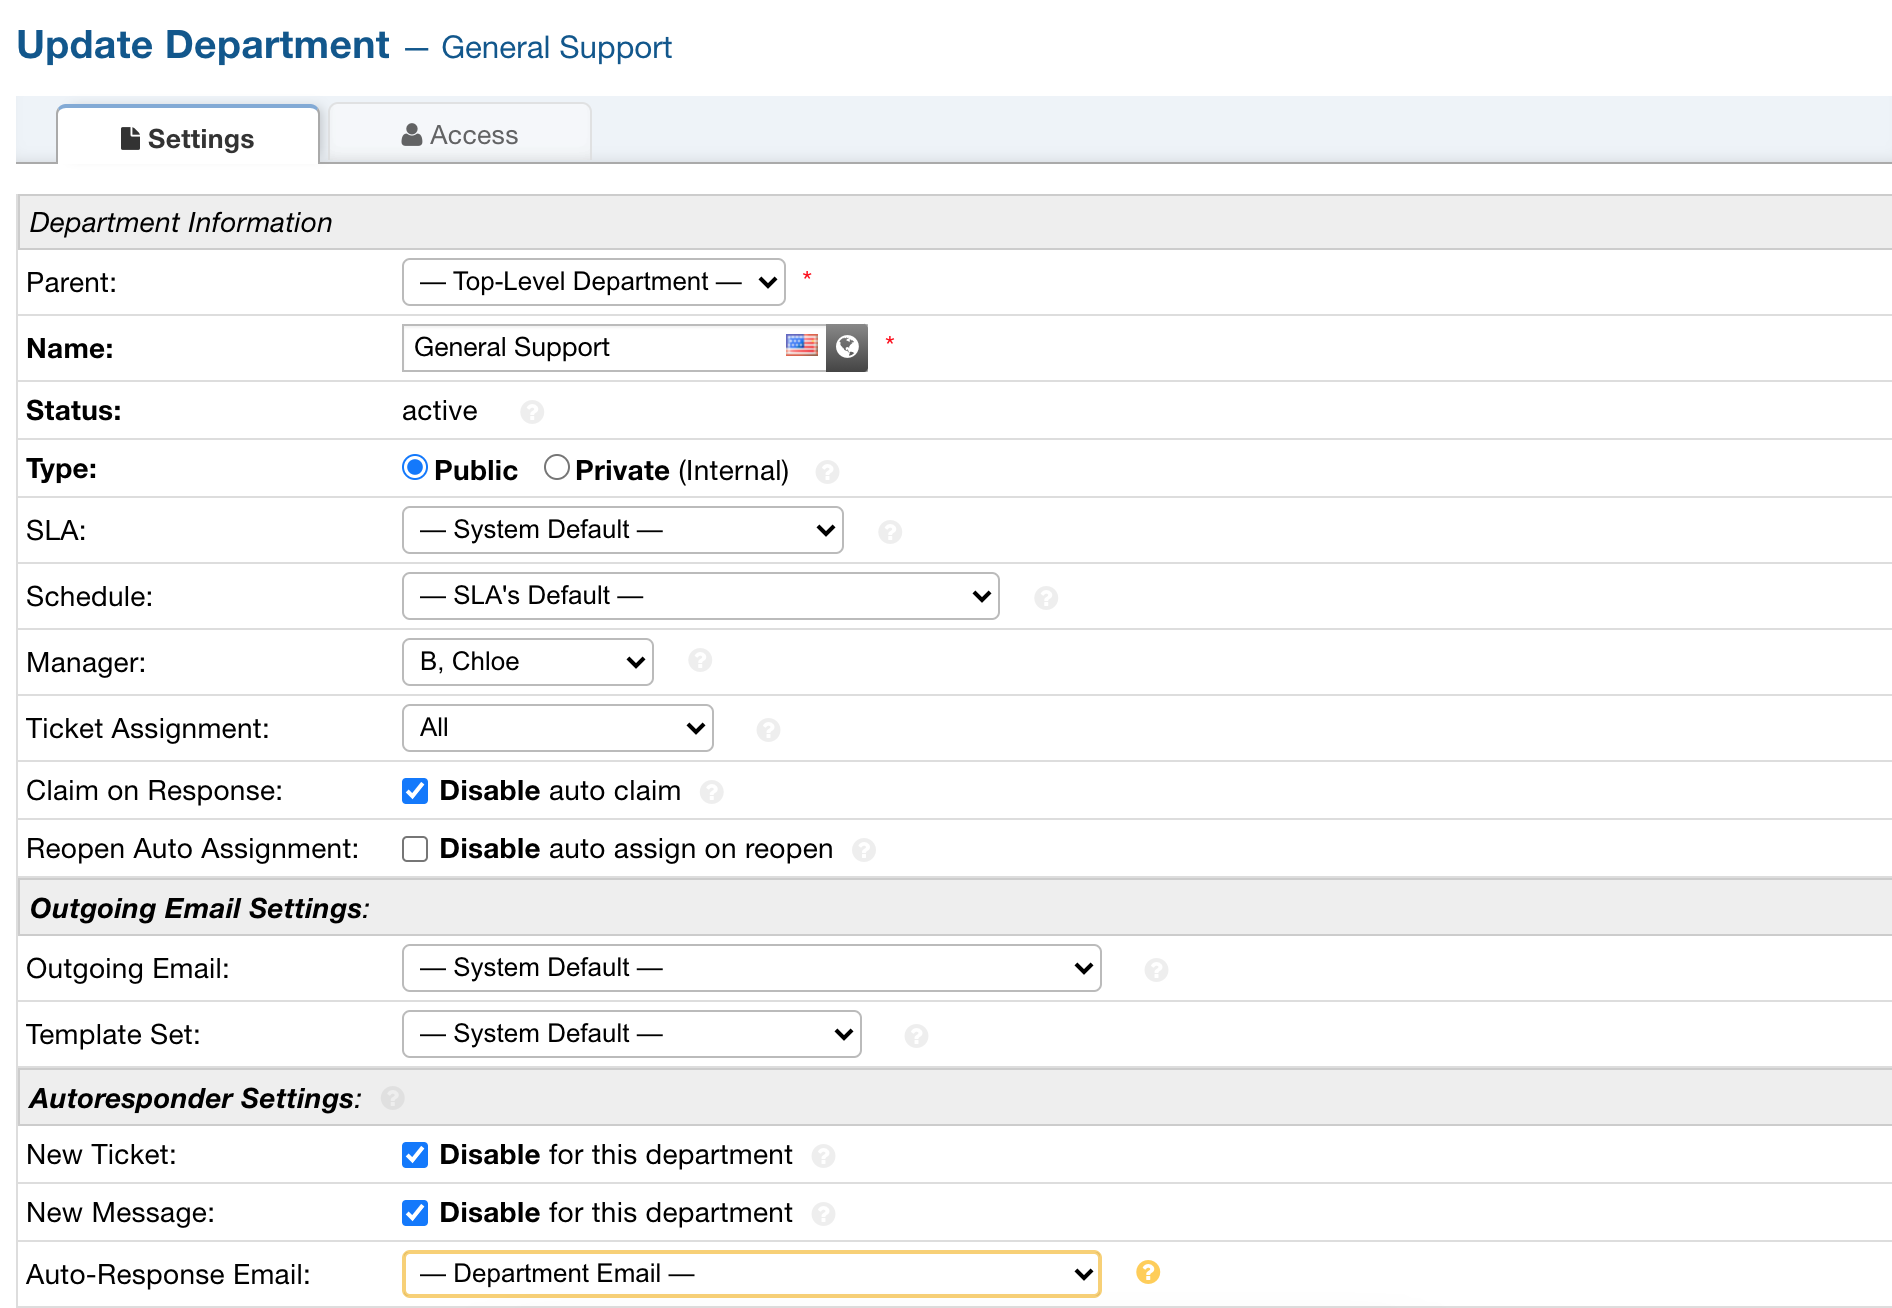
If you would like this same address used for each Department, you will need to assign the email address as the outgoing email address for each Department individually. You can do this by going to Admin Panel > Staff > Department > (click on the Department’s name), go to the Autoresponder Settings section, and change the Auto-Response Email.
If SMTP is not configured and you do not have SPF setup for your domain a warning will be displayed signifying you need to setup SPF.

What is SPF and why do I need it?
A Sender Policy Framework (SPF) record is a type of DNS record that identifies which mail servers are permitted to send email on behalf of your domain. The purpose of an SPF record is to allow email recipients to determine whether a message purporting to be from your domain comes from an authorized mail server.
To allow us to send emails on your behalf, using your own domain name, we highly recommend that you specify mail sending policy by creating an SPF record for your domain.
For example, suppose that you add support@yourdomain.com to your SupportSystem account. To allow us to send emails on your behalf, you will need to create an SPF record that identifies the SupportSystem mail servers as the authorized mail servers for your domain. When a recipient’s mail server receives a message from support@yourdomain.com, it can check the SPF record for yourdomain.com to determine whether it is a valid email message.
If your domain does not have an SPF record, some recipients domains may reject or flag messages from our mail servers, as spam, because they cannot validate that the email comes from an authorized mail server.
If adding an SPF record is not an option, then you can alternatively configure SMTP information so we can send emails via your own mail server.
How to add an SPF record for SupportSystem?
To create an SPF record follow the steps below:
- Login to your administrative panel of your domain registrar or DNS manager
- Visit the page to manage your DNS records
- Create or update a TXT record containing the text below. Some DNS configurations will have an option to manage an SPF record
v=spf1 include:_spf.supportsystem.com ~all
Adding multiple SPF records is not recommended and may cause validation errors. If you need to authorize more than one mail server, we recommend that you update existing SPF record instead of adding a new one. For instance, if you have an existing SPF record for your domain, you would just need to add the include section from above.
v=spf1 include:_spf.supportsystem.com include:spf.service.com ~all
More information on SPF records and their respective configurations is available online: http://www.open-spf.org/Project_Overview/
Please note that changes to DNS records may take up to 48 hours to fully propagate the internet.
If you are having difficulty creating an SPF record, please contact your domain/DNS administrator for assistance.